Introduction
Many vintage light fixtures continue to captivate with their timeless elegance and unique designs, but they often depend on pull chains for operation. Over time, these pull chains can wear out or break, affecting the functionality and appearance of the fixture. Learning to replace these pull chains can restore both functionality and charm to your beloved vintage lighting pieces. This guide offers detailed, step-by-step instructions for safely and effectively replacing pull chains on vintage fixtures.
Understanding Vintage Light Fixtures
Vintage light fixtures, often crafted with exquisite details, have unique operational mechanisms, including pull chains. These chains are not just functional components but are also integral to the aesthetic appeal of the design. They often come in various styles and materials, reflecting the era of the fixture. While replacing these chains, it’s important to consider their historical value and attempt to use materials and styles that fit well with the original design.
Historical Significance and Appeal
Vintage light fixtures offer more than just illumination; they carry historical and aesthetic significance. They can be central features in a room, drawing attention with their craftsmanship. Pull chains in these fixtures are typically made of metal and can feature intricate designs. When restoring such fixtures, attention to detail is crucial to maintain their historic and aesthetic value.
Common Issues with Pull Chains
A common issue with vintage fixtures is the wear and tear of the pull chains. Frequent use can lead to loosening, detachment, or breakage of the chains. In some cases, the internal mechanism of the pull switch may also wear out, necessitating a replacement. Therefore, understanding the structure and operational aspects of the pull chain mechanism is important before undertaking repairs.
Tools and Materials Required
Successful replacement of pull chains necessitates having the right tools and materials on hand. This preparation will make the process smoother and more efficient.
Tools:
- Phillips or flat-head screwdriver: This tool is essential for removing the fixture from its mounting and accessing the internal mechanisms.
- Wire cutters or sturdy scissors: These are needed for cutting any remaining parts of the old chain or wires during the replacement process.
- Needle-nose pliers: These pliers are useful for gripping small components and for connecting the new pull chain to the switch securely.
Materials:
- Replacement pull chain: Consider both the length and style to ensure they complement your fixture.
- Replacement pull switch: Necessary if the switch itself is faulty, ensure compatibility with your fixture.
Safety Precautions
Working with electrical fixtures requires prior precaution, especially with vintage models where the wiring may not be up to modern standards. Following these safety measures is essential to preventing electrical accidents.
- Turn Off Power: Always switch off the power to the fixture at the circuit breaker to negate the risk of electric shock during the procedure.
- Test for Power: Utilize a voltage tester to ensure the power is truly off. This step must be undertaken before touching any wiring or internal components.
Steps to Replace the Pull Chain
The following detailed instructions will guide you through the process of replacing a pull chain on a vintage fixture. By approaching each step methodically, you ensure a safe and effective repair.
Step 1: Remove the Fixture
Start by carefully removing the light fixture from its mounting on the ceiling or wall. Use the appropriate screwdriver to detach it from its bracket, paying close attention not to damage any of the connecting wires. As you work, support the fixture to prevent it from falling or sustaining damage.
Step 2: Access the Pull Chain Mechanism
Once removed, identify the location of the pull chain mechanism, typically housed within the fixture’s socket assembly or base. Open or remove any casing that might envelop the mechanism with care, ensuring not to harm any other components.
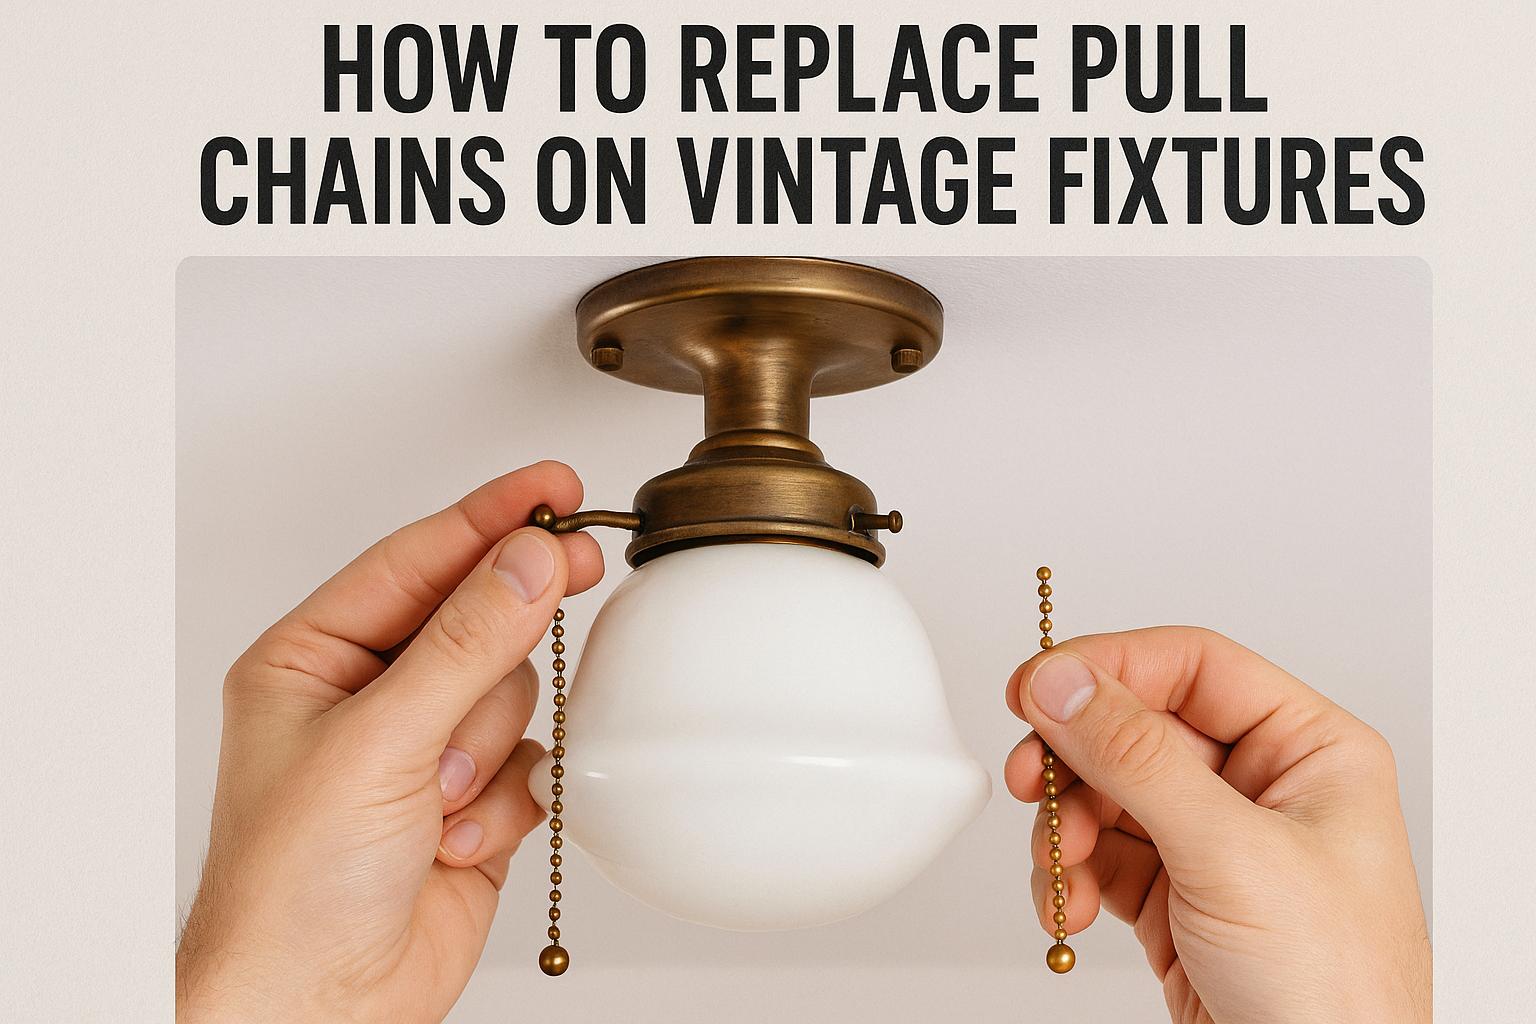
Step 3: Remove the Old Pull Chain
Use needle-nose pliers to disengage the old pull chain from the switch. If the chain has broken within the switch, employ wire cutters to clear any remaining fragments. This ensures that the mechanism is fully prepared for the installation of the new chain.
Step 4: Install the New Pull Chain
Feed the replacement pull chain through the designated aperture or pathway in the fixture’s casing. Attach the chain solidly to the switch, either by securing it into a designated connector or chain link. Confirm that the connection is firm to avoid future slippage or detachment during operation.
Step 5: Reassemble the Fixture
With the new pull chain properly installed and functioning, proceed to reassemble the fixture. Replace all parts in the reverse sequence of disassembly, making sure to achieve a snug fit and secure all connections. Attention to each component’s alignment will ensure that the fixture looks and operates as expected.
Step 6: Reinstall the Fixture
Return the fixture to its original mounting and fasten it using the screws removed at the onset. Meticulously verify that all electrical connections are properly attached and stable, thus ensuring both safety and functionality.
Step 7: Restore Power
Once the fixture is securely in place, restore power at the circuit breaker. Test the new pull chain to ensure the light engages and disengages as intended. This final test is critical to confirm the success of your repair work.
Conclusion
Replacing pull chains on vintage fixtures not only extends their lifespan but also allows you to maintain their aesthetic value. Through careful adherence to safety guidelines and procedural steps as detailed in this guide, you can efficiently perform this task. It is imperative always to prioritize safety, ensuring that power is off throughout the process. By doing so, you uphold the integrity and charm of these historical fixtures for continued enjoyment.