Introduction
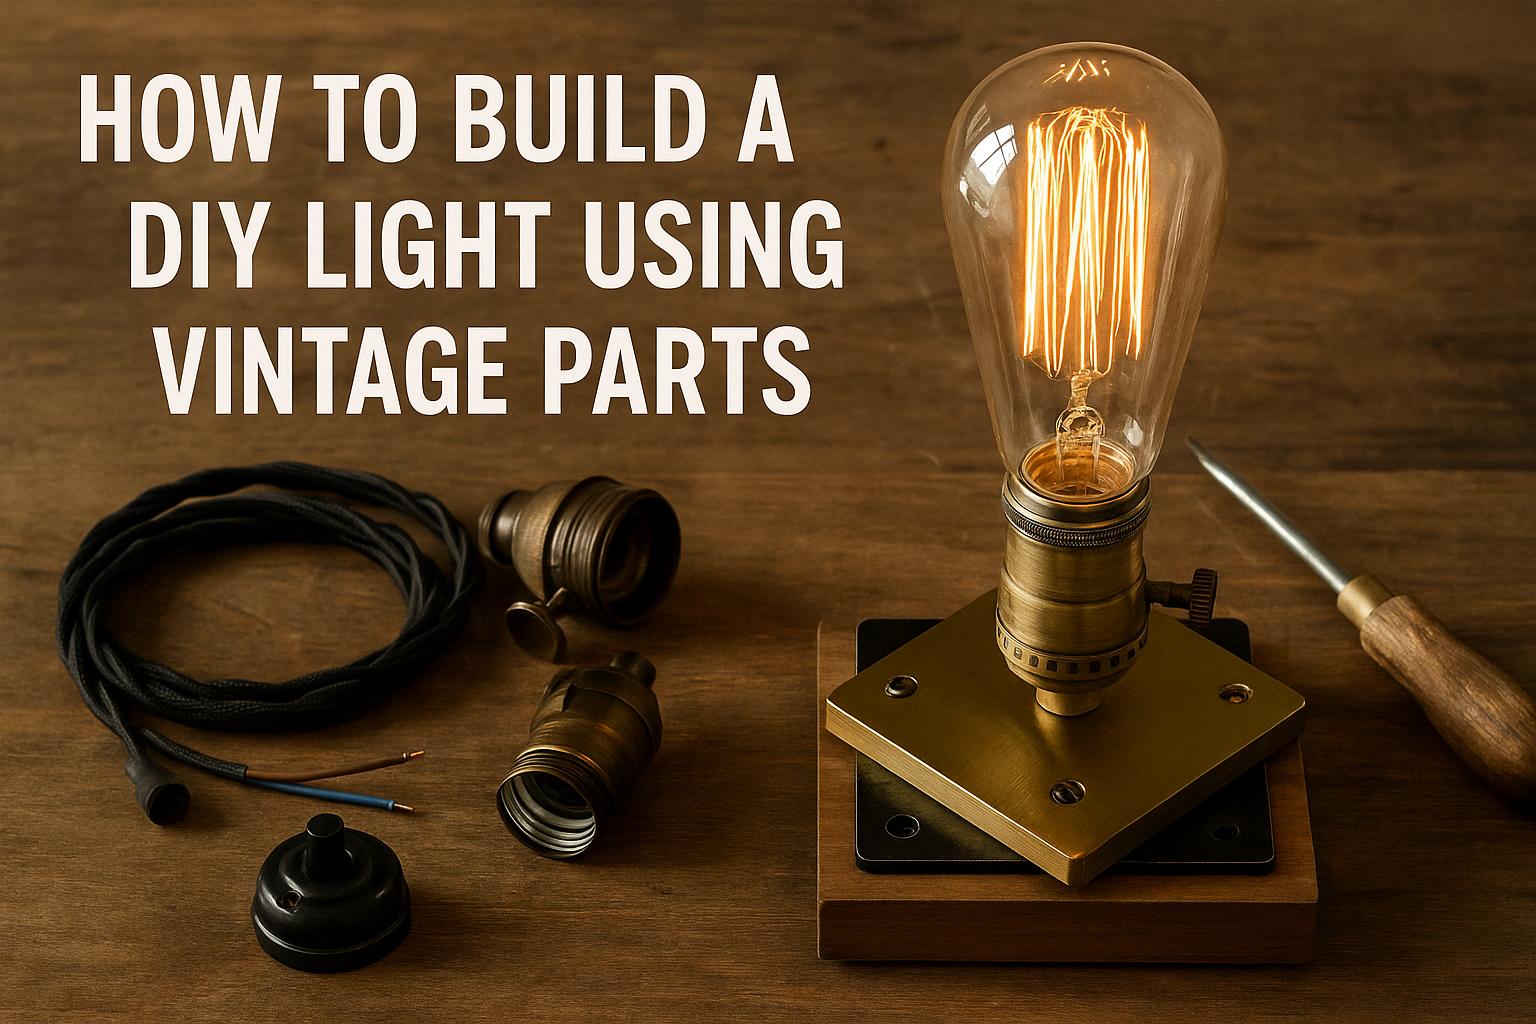
Creating a DIY light fixture using vintage parts offers a sustainable way to enhance your living space with distinct personality. This practice is not only eco-friendly but allows for creative expression through crafting one-of-a-kind pieces. The endeavor begins with sourcing vintage materials, comprehending their electrical needs, and marrying them safely into a cohesive, functional light fixture.
Materials Needed
At the outset, it’s crucial to gather the right vintage parts and tools. The essentials for this project encompass:
– A vintage lamp base or older fixture components
– Vintage light bulbs, for authenticity and aesthetic appeal
– Electrical wires suitable for home use
– A bulb socket matching the light bulb size
– A plug compatible with your home outlets
– Electrical tape and wire cutters for clean, secure connections
– Various screwdrivers and perhaps a drill, contingent on the intricacy of the design and assembly
Sourcing Vintage Parts
Discovering the right vintage parts can be a fulfilling journey full of surprises. Markets such as flea markets, antique boutiques, and online platforms host a variety of unique components. When selecting materials, aim for robust elements like metal, glass, or ceramic, due to their longevity and unique character that they can bring to the project. This search not only adds authenticity but lends an original story to every light fixture you assemble, involving pieces with histories all their own.
Understanding Electrical Components
A foundational understanding of electrical components is imperative before you embark on assembling your fixture. It’s vital that all electrical elements such as sockets and wiring meet modern safety regulations. Often, vintage parts may display wear and tear; therefore, replacing them with new yet aesthetically coherent components could ensure both safety and design harmony. When unsure about any component’s safety or functional compatibility, it’s prudent to opt for modern replacements designed to mimic vintage aesthetics.
Step-by-Step Assembly
Step 1: Prepare and Clean Parts
Initiating the project, thoroughly cleaning your vintage pieces is recommended. This process involves dust and rust removal to enhance the aesthetics and promote safer part integration. Use gentle cleaning agents suitable for the material type to preserve the patina typical of vintage items while ensuring no safety hazards exist.
Step 2: Connect the Socket
Fastening the socket firmly to the lamp base forms the next focal step. For those repurposing a lamp base, it might be feasible to use an existing socket after ensuring its current reliability and establishing secure connections. If repair is necessary, accurately fixing any loose ends helps guarantee stability.
Step 3: Wiring the Fixture
Tailoring electrical wiring to your required specifications involves cutting to suitable lengths and stripping wire ends before connecting them to the socket. Ensuring firm and secure connections is key. Cover all exposed wires with electrical tape to avoid harmful exposure and ensure a clean look.
Step 4: Adding a Plug
A crucial step involves affixing a plug to the wire’s other end. It’s vital to ensure connections within the plug are robust to prevent potential short circuits. Testing the plug for reliability and safety in its operational capacity safeguards against mishaps when it’s live.
Step 5: Assemble and Test
Culminating in assembly, connect all components then subject the light fixture to rigorous testing. Plug it in and operate it to confirm correct functionality. Any flickering or instability calls for immediate disconnection to re-evaluate connections for security possibly. It’s vital to never compromise safety, especially in the handling of older components.
Conclusion
Equipped with both creativity and method, building a DIY light fixture from vintage parts provides an outlet for personal craftsmanship along with environmental consciousness. Carefully chosen parts, safely assembled, form unique lighting sources that not only bring light into your living spaces but also display your personal flair. Prioritize safety by double-checking all electrical connections and seeking professional guidance when uncertainty arises. This not only secures your structure but ensures a successful project that combines historical elements with practical modern use.