Introduction
Restoring a gooseneck desk lamp is a rewarding endeavor that not only revives a functional decor but also preserves the vintage charm inherent in these classic pieces. These lamps, beloved for their flexibility and unique aesthetic, may demand attention over time, necessitating maintenance or sometimes complete restoration. This guide will elaborate on the steps involved in restoring such a lamp by exploring key areas namely cleaning, repainting, rewiring, and subsequent troubleshooting. Each step is carefully designed to enhance both the safety and the lifespan of the lamp, while simultaneously retaining or even enhancing its original appearance.
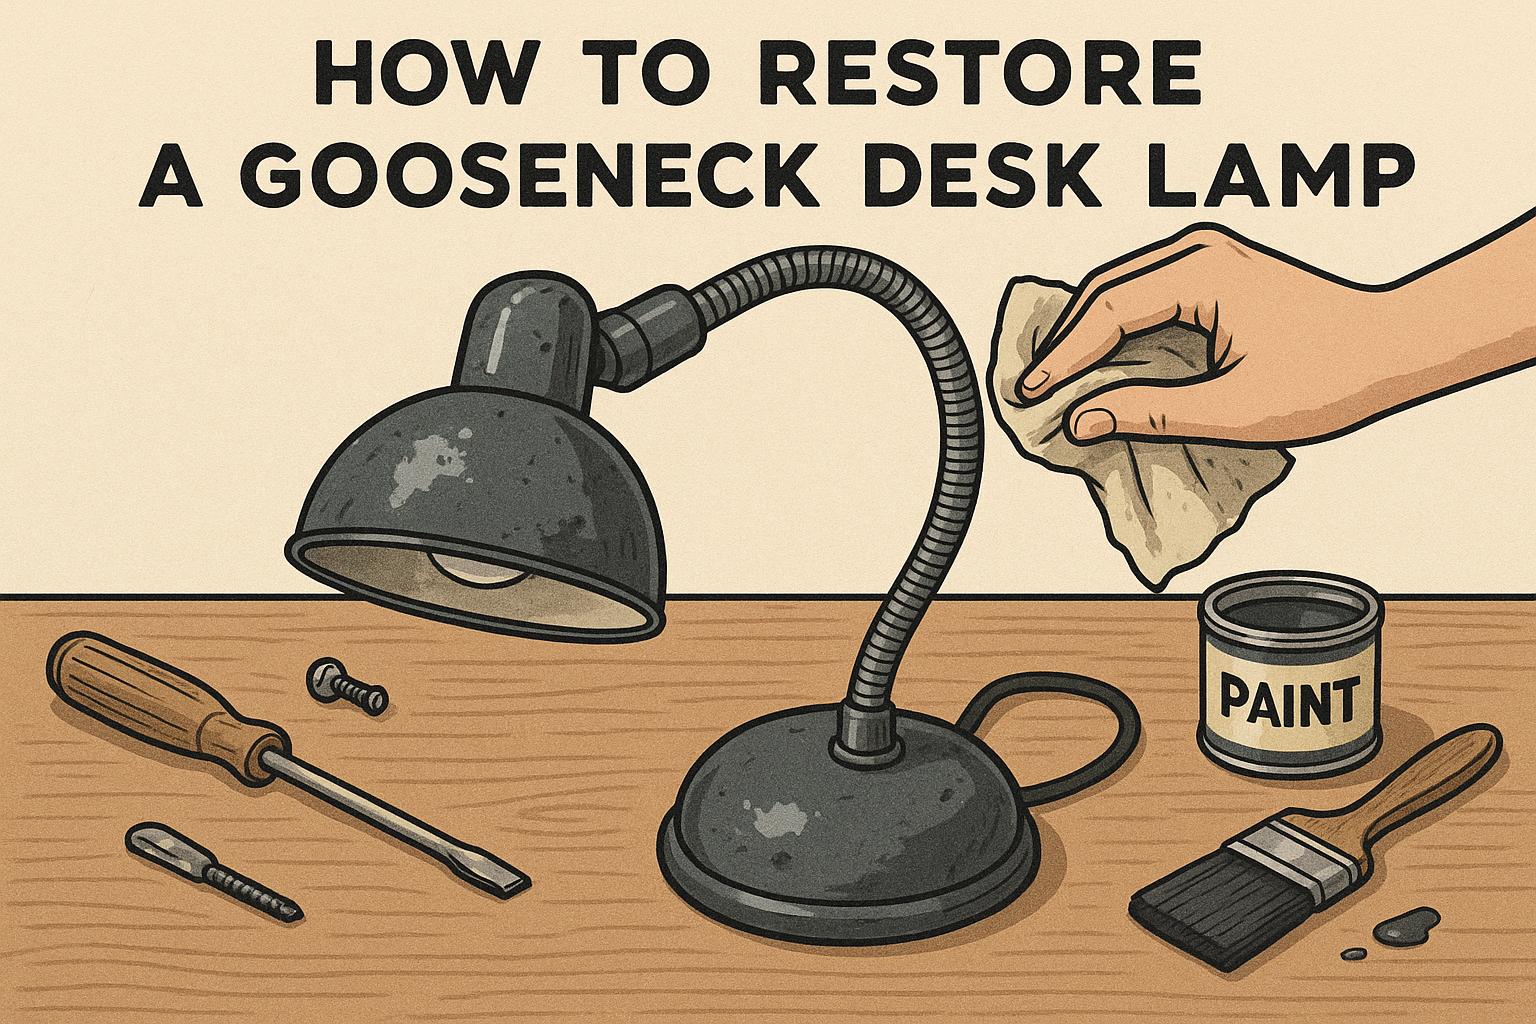
Cleaning the Lamp
The restoration journey typically begins with a thorough cleaning. This initial phase can significantly enhance the lamp’s visual appeal, uncovering its potential through the removal of accumulated dust and grime. Begin the cleaning process by ensuring that the lamp is unplugged and free from any electrical source. After disassembling the lamp to the extent necessary, take out the bulb to protect it during the cleaning process.
Use a soft cloth moistened with a mild detergent solution to gently wipe down the entire lamp. Pay particular attention to the neck, base, and shade, as these areas can often collect significant amounts of dust and grime. It’s crucial to avoid abrasive materials during cleaning as they can damage or scratch the lamp’s surface, detracting from its appearance.
For dirt that proves resistant to initial cleaning efforts, a gentle application of a mixture of vinegar and baking soda can be effective. This combination is both mild and effective, providing extra cleaning power without posing a risk to the lamp’s finish. Once cleaning is complete, ensure that the lamp is properly dried, preparing it for the next stages of restoration.
Handling Rust and Corrosion
Metallic components of gooseneck lamps can develop rust or corrosion over the years, particularly in areas exposed to humidity or moisture. Addressing these issues is essential for both the aesthetics and the functionality of the lamp. Employ fine-grit sandpaper or steel wool to delicately remove rust and corrosion from affected areas. This process should be undertaken with care to avoid damaging the metal beneath the rust.
During this work, wearing protective gloves is recommended to safeguard your hands, and ensuring adequate ventilation is important to avoid inhaling any dust or particles. If the rust is extensive, consider using a commercially available rust-removal solution. After treating affected areas, thoroughly wipe down the lamp to remove any residual rust particles.
Repainting the Lamp
Repainting is a popular restoration step, often necessary to restore the lamp to its original splendor or to refresh its look with a new color. When selecting paint, choose a spray paint that is specifically formulated for metal surfaces to ensure optimal results and longevity. The painting environment must be well-ventilated to allow for the safe use of spray paints.
Prepare the workspace by placing newspapers or a tarp to safeguard surfaces from stray paint. Before beginning the paint application, cover any exposed electrical components with tape or other protective coverings to prevent damage. Apply the spray paint in multiple thin coats, allowing each coat to dry before applying the next. This approach ensures an even finish and minimizes the risk of drips or uneven coloration, maintaining the aesthetic quality of the lamp.
Rewiring the Lamp
Given the potential age of some gooseneck desk lamps, rewiring may be necessary to maintain safety and functionality. Begin this step by fully disassembling the lamp, ensuring all parts are unplugged and separated from their electrical connections. Carefully inspect the existing wiring for any obvious signs of wear, damage, or fraying, which can create electrical hazards.
Replace any dubious wiring with new, high-quality electrical cords. It is critical that the new wires are connected correctly, matching colors for consistent signal flow, and securing all connections with wire connectors to prevent loose or unstable wires. This stage demands meticulousness, as proper rewiring is paramount in safeguarding against potential fire risks or electrical failures.
Replacing the Socket and Switch
In some cases, the socket or switch might require replacement to ensure the lamp’s safe operation. Disconnect the existing socket gently, taking note of how it is currently connected to guide the installation of the new one. Securely attach the new socket, ensuring each wire is connected correctly to the corresponding terminal screws.
Similarly, if the switch is faulty, select a replacement that correctly fits the existing space and matches the lamp’s design. Double-check all connections, verifying they are secure, non-loose, and capable of safely handling the lamp’s power needs. Ensuring the correct installation of these components is crucial for maintaining both the function and the safety of the restored lamp.
Troubleshooting and Final Checks
With the restoration and reassembly stages complete, it’s time to test the lamp’s functionality. Reassemble the lamp, ensuring each component is properly aligned and secured. Insert a bulb suited for the lamp’s specifications, and connect the lamp to a power source. If the lamp does not light up, re-evaluate the wiring, the bulb itself, and check all connections again for any overlooked issues.
Ensuring that all parts, especially electrical components, are properly insulated and secure is fundamental to both safety and performance. This step confirms the restoration’s success, verifying that the lamp should continue to work safely and efficiently.
Conclusion
In conclusion, restoring a gooseneck desk lamp is a process that enhances its visual and functional appeal. By undertaking a careful and thorough approach to cleaning, repainting, and rewiring, the life of the lamp is extended while its classic and timeless charm is preserved. Whether you are a collector or simply looking to rejuvenate a cherished household item, this restorative effort not only yields cost savings but also preserves a piece of historical craftsmanship.